
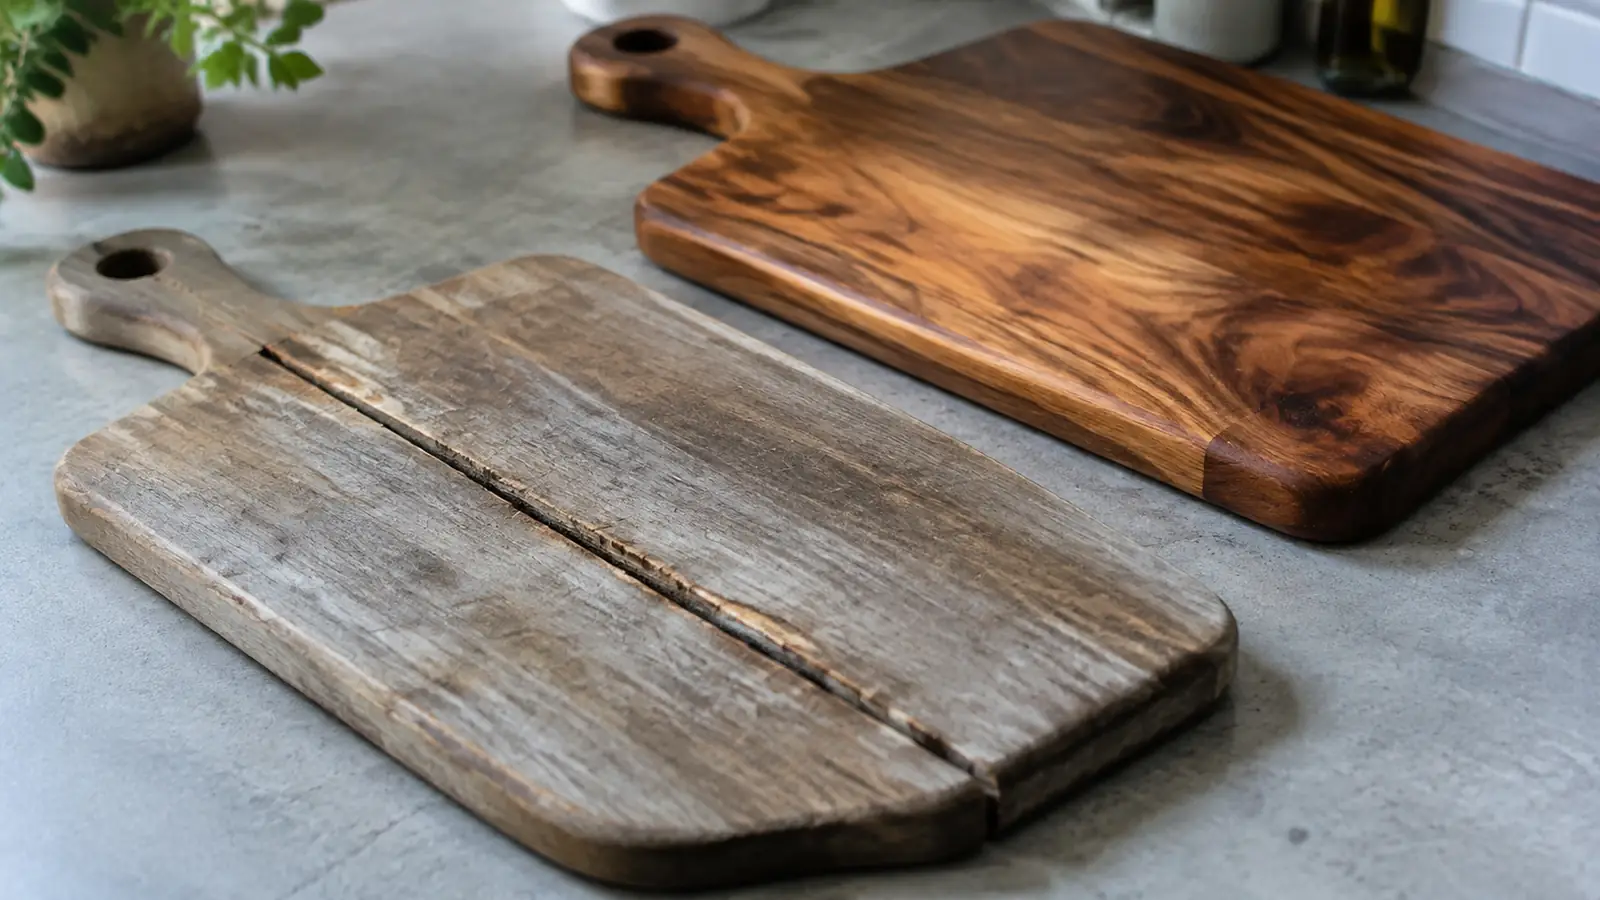
A wood cutting board does not wear out. It dries out, and then it splits, and by the time you can see the split it has been coming for a year. Everything below is aimed at that one failure. I have owned a Sonder Los Angeles end-grain walnut board for the last year and a maple board for six or seven, and I have also killed a cheaper end-grain board through pure neglect, which is the education this article is built on.
The routine itself is not complicated and it does not take much time. What it takes is regularity, because wood loses moisture slowly and steadily and does not warn you. Five steps, about ten minutes of actual work a month, and the board outlives you.
A Board Worth Looking After
The routine below is what keeps an end-grain board flat and sound for decades. If you are still cutting on something warped and scored, the Sonder Los Angeles Alfred in walnut is the board most people move to and stop looking. See the current price and the sizes on offer.
Amazon Check Today's Price on Amazon →Step 1: Get the Right Oil, and Nothing From the Pantry
Use food-grade mineral oil. It is sold for exactly this, it is cheap, it never goes rancid, and it soaks in rather than sitting on top. You want the plain stuff with nothing added. A bottle will last you a couple of years even if you are diligent, so buy the larger size and stop thinking about it.
Do not use cooking oil. Olive, vegetable, canola, sunflower, any of it. They all go rancid, and a rancid board smells faintly of old chip fat and cannot be fixed without sanding it back. I know this because I did it in my thirties on a board my mother gave me, on the reasoning that oil is oil. It took about four months to start smelling and there was no saving it. Walnut oil gets recommended in some places and it does cure hard, but it is also a nut oil and I would not put it on a board that food touches in a house where anybody might have an allergy.
Alongside the mineral oil, get a board wax or board cream, which is mineral oil with beeswax blended into it. The oil goes deep and the wax sits at the surface and slows the water down. You do not need it every time, but the two together work far better than oil alone, and a tin lasts years.
One practical note on quantity, because the bottles are sold in sizes that mean nothing until you have used one. A seventeen by thirteen end-grain board takes roughly two tablespoons of oil on a routine feeding and closer to four the first few times, when the wood is still drinking. Buying a small bottle of specialty board oil is how people end up rationing it and under-oiling, which defeats the whole point. The plain food-grade mineral oil sold at any pharmacy is chemically the same thing at a fraction of the cost, and having plenty of it is what makes you generous with it.
Step 2: Oil It Far More Often Than Feels Necessary at First
A new end-grain board is thirsty. All those open fiber ends are effectively a bundle of straws pointing at the surface, and they will take everything you give them for the first few months. When my Sonder board arrived last autumn I oiled it once a week for the first month, then every two weeks for the next two months, then settled into once a month, which is where it has stayed.
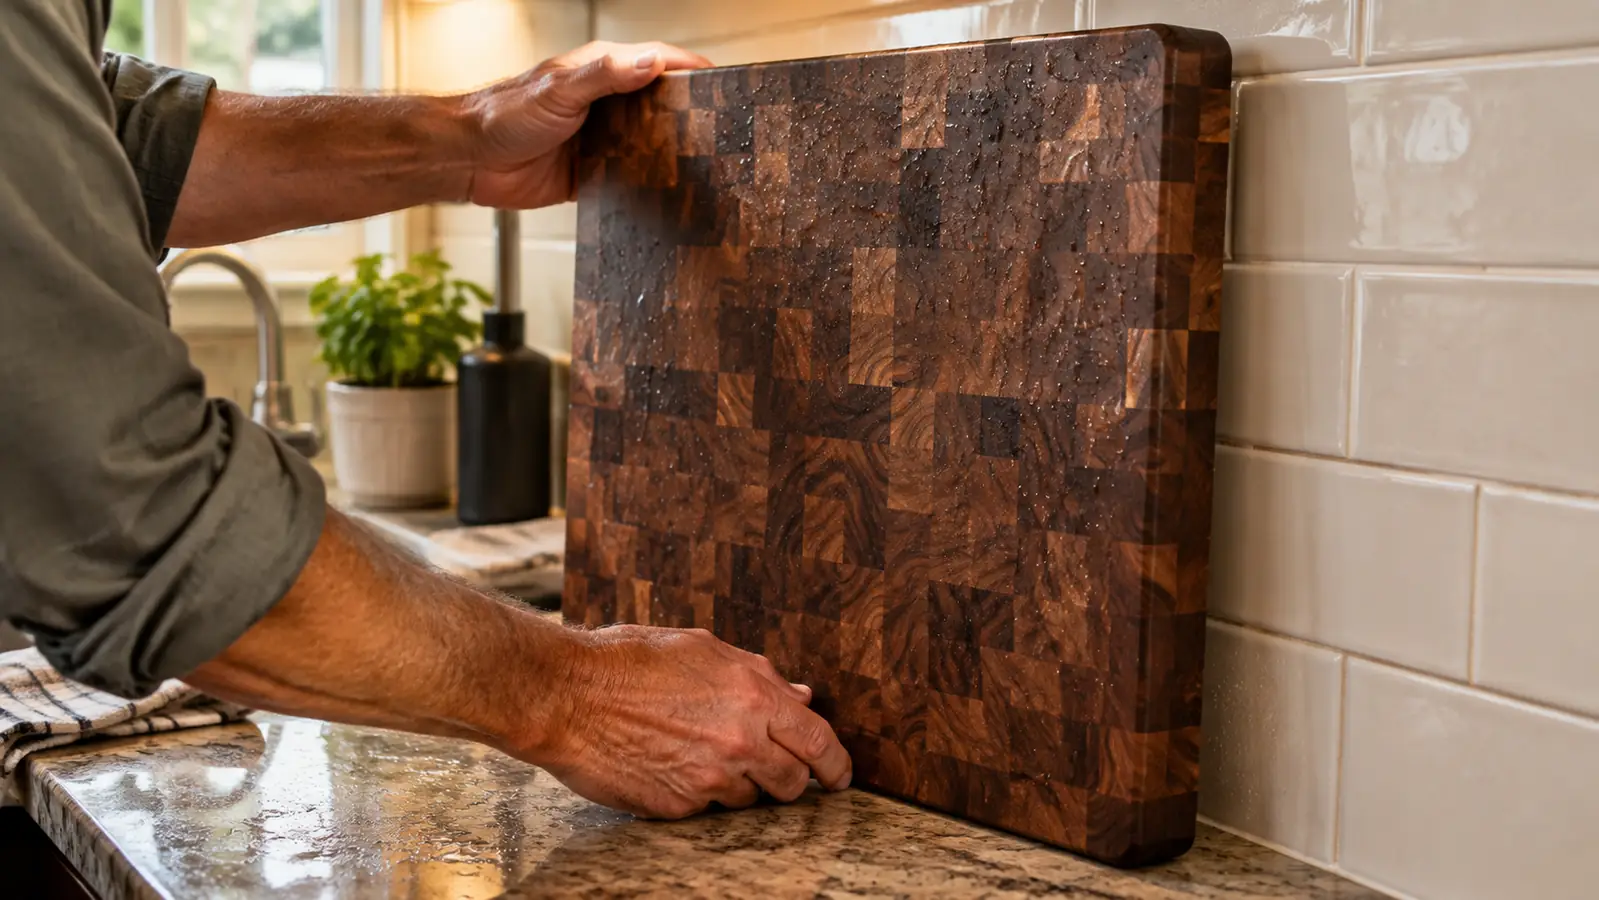
The test for whether it needs oil is the same one every time and it takes two seconds. Flick a few drops of water onto the surface. If they bead and sit, the board is fine. If they darken the wood and sink in, it is thirsty and you are overdue. Do that check whenever you think of it and you will never have to remember a schedule.
Edge-grain boards want the same treatment on a longer interval, because they present far less open fiber to the surface. Mine goes about three months and has never complained. But the water test works the same on both, so use that rather than a calendar and you cannot go far wrong.
Season matters more than most people expect, and it caught me out in my first winter with the walnut board. Once the heat comes on in the house the indoor air dries out sharply, and a board that was perfectly happy on a monthly interval in September wanted oil every second week by January. I did not notice until the water test started failing early. Now I simply move to a fortnightly interval from the day the furnace starts running through to spring, and I go back to monthly when the windows are open again. If you live somewhere with real winters, do the same and you will save yourself the guessing.
Step 3: Flood It, Let It Sit, Then Take Off What Is Left
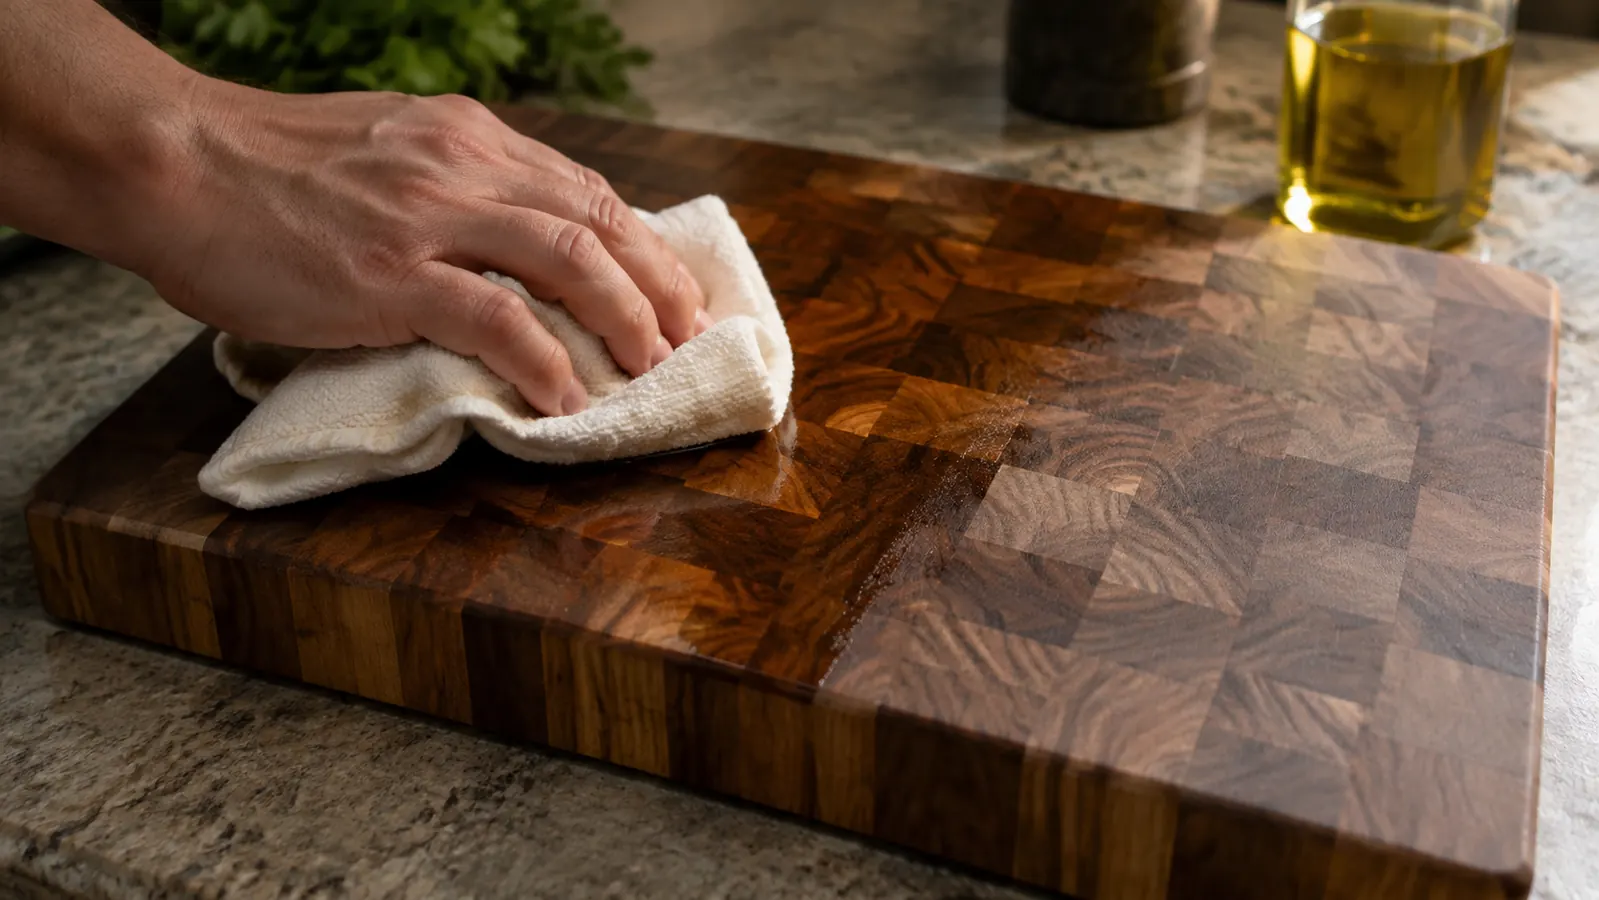
Do not be sparing. Pour the oil on, more than looks sensible, and spread it over the whole board with a folded cloth or a paper towel. Both faces and all four edges, every time, because a board that is oiled on one side only will take on moisture unevenly and cup. That is the second most common way boards die and it is entirely avoidable.
Then leave it. A few hours is fine and overnight is better. I do mine last thing in the evening, lying flat on the counter on a towel, and deal with it before coffee the next morning. In the morning, wipe off whatever has not soaked in with a clean dry cloth. There should not be much on a thirsty board, and there will be a fair amount on one that is well fed, which is itself a useful signal that you can stretch the interval.
Once the oil is off, if you are also waxing, work a thin coat of the board cream over the surface with your hand and buff it with a cloth. Body heat softens the wax enough to spread it, which is why hands beat rags for this one job. It should come up to a low sheen, not a gloss. I do the wax about every third oiling.
Work in a warm kitchen if you can. Oil is noticeably thicker when it is cold and it sits on the surface instead of drawing into the fiber, so a board oiled in a chilly kitchen in February takes up less than the same board would in June. I learned this by wondering why the winter oilings seemed to leave so much residue to wipe off. Now I bring the bottle in from the utility room an hour beforehand, or stand it in a mug of hot water for a few minutes, and the difference in how much the board actually takes is easy to see.
Step 4: Wash It in a Way That Does Not Undo the Work
Hot water, a little dish soap, a brush or a sponge, and do it straight after use. Rinse and then dry it immediately with a towel, both sides, and stand it on its edge until it is fully dry. That last part is the one people skip. A board left lying flat on a counter traps moisture underneath and dries on top, and a board drying unevenly is a board deciding which way to warp.
The two things that will destroy a board are soaking it and putting it in the dishwasher. Never leave it in a sink with water in it, not even for the length of a phone call. A dishwasher is worse, because it is hot water and steam for an hour followed by a heated dry cycle, and end-grain boards come out of that with their glue seams open. There is no repairing that and no warranty covers it.
For smells and stains, coarse salt and half a lemon scrubbed over the surface handles almost everything, then rinse and dry as normal. Do not leave the lemon sitting on the wood, because the acid will lighten the surface if you give it time. For raw meat I wash with hot soapy water and dry, and I have never felt the need for anything stronger. Wood is a good deal less hospitable to bacteria than people assume, and the research on that has been settled for a long time.
Step 5: Watch for Cupping and Fix It Before It Sets
Every month or so, put the board on a flat counter and press one corner. If it rocks, it has cupped. Caught early this is easy to reverse: oil the concave side heavily, leave the board on its edge for a day or two, and it will usually come back. Caught late it needs sanding, and on an end-grain board sanding is a real job with a belt sander and a lot of dust.
The other thing to watch is the glue lines. On any laminated board those seams are where failure shows first. Look along the surface in raking light, from a low angle with a window behind it, and you are looking for any seam that has begun to stand proud of its neighbours or open into a visible line. A seam that has just started to lift will often close again with a heavy oiling and a week of attention. A seam you can get a fingernail into is past saving.
Keep a rough note of when you last oiled it. I write the date on a strip of masking tape stuck inside the cupboard door where the oil lives, which took me an embarrassing number of years to think of. The point is not precision. The point is that neglect is invisible until it is not, and the difference between a board that lasts thirty years and one that lasts three is entirely a matter of whether anybody was keeping track. A date on a piece of tape is enough to keep you honest through a busy summer.
The board I killed died exactly this way. I bought it, oiled it twice in the first month, then got busy through a summer and did not touch it until October, by which time two seams had opened far enough to catch a knife tip. That was a full year of neglect, which sounds like a lot until you realise how easily a summer disappears. The whole of the routine above exists to prevent that one outcome.
What Else Helps
Keep the board off the windowsill and away from the stove and any heat vent. Dry heat pulls moisture out faster than anything you do at the sink, and a board that sits in afternoon sun will need oil twice as often as one that does not. Mine lives on the counter along the inside wall, well away from the range, and that alone stretched my oiling interval noticeably.
Get feet or a mat under it if it does not have them. Airflow underneath means a board that dries evenly instead of trapping a damp patch, and a board that does not slide is a safer board with a heavy knife in your hand. And if there are other people in the house who use it, tell them the two rules that matter, which are never in the sink and never in the dishwasher. Everything else on this list can be caught up on later. Those two cannot.
Boards do not die from use. They die from a summer of being forgotten on a counter in the sun.
Ten Minutes a Month, and It Outlives You
A well kept end-grain board stays flat, keeps its face and can be sanded back and started again decades from now. If you are ready to buy one worth that routine, the Sonder Los Angeles Alfred in walnut is where most people land. Have a look at the price and sizes today.
Amazon See the Board on Amazon →