
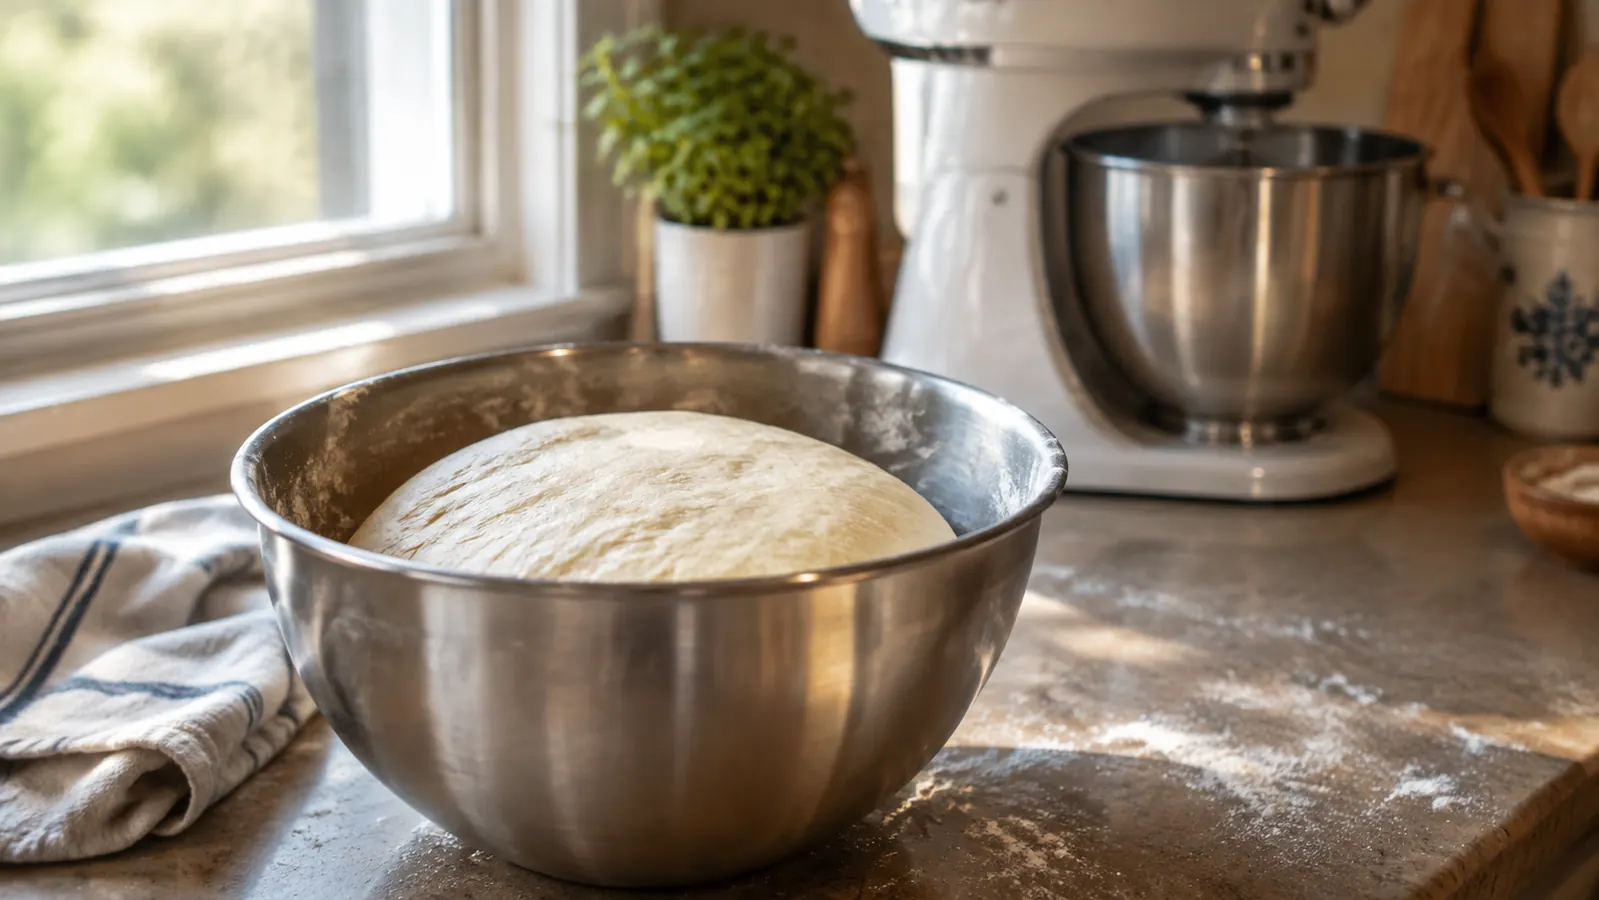
I bought my KitchenAid Artisan in 2011, and for the first several years it lived a soft life. Cakes, cookies, whipped cream, the occasional batch of frosting. Then my neighbor Bill showed up with a bread machine he had picked up at a yard sale, and I told him I could do better with a real mixer and a bowl. So I started making bread dough in the stand mixer. The first loaf came out fine. The second was fine too. By the third batch, the mixer started to give off a warm, electrical smell about six minutes into the knead. That smell is the sound of a motor working harder than it should, and it is the reason most people tell you not to make bread dough in a stand mixer at all. Here is the part they do not tell you: you can knead bread dough in a KitchenAid tilt-head for years, as long as you respect hydration, stay off the high speeds, and know when to stop.
I have been cooking seriously for about thirty years, and I have made plenty of mistakes in a kitchen. Overloading a stand mixer is one I repeated more than once before I learned to trust the numbers. The motor in the 5-quart Artisan is a real piece of equipment, but it is not a commercial mixer, and a stiff bread dough is the heaviest load most home bakers will ever hand it. The method below is what I settled on after a fair number of failed batches and a couple of nearly expensive lessons. It is not fancy. It is a straight walkthrough: get the hydration right, run speed 2, let the dough come together slowly, test with the windowpane, and stop on time. Do those five things and you will get smooth, elastic dough and a mixer that still runs cool when you are done.
Knead two loaves of bread without worrying about the motor
The Artisan handles real bread dough when you work it the right way. It is the mixer I have used for fourteen years and counting.
Amazon Check Today's Price on Amazon →Step 1: Get the Hydration Right Before You Start
The single biggest reason people burn out a mixer motor on bread is dough that is too stiff. Hydration is the ratio of water to flour by weight, and it decides how much work the motor has to do. A standard loaf dough runs about 65 percent hydration, which means 650 grams of water for every 1000 grams of flour. If you are measuring flour with a cup, you are already fighting the machine, because a cup of flour can weigh anywhere from 120 to 150 grams depending on how it was scooped. Weigh your flour and weigh your water. That one change fixed more of my failed loaves than any other single thing I did.
At 65 percent hydration the dough is tacky but not sticky. After a few minutes of kneading it should pull away from the sides of the bowl and leave the bottom fairly clean. If your dough is drier, down around 58 percent, it becomes a stiff ball that thumps around the bowl and makes the motor strain on every rotation. If it is wetter, 75 percent and up, it climbs the dough hook and turns into a sticky mess. Both extremes are miserable. For your first several batches, stay between 62 and 68 percent and learn what that range feels like in your hands. A decent scale is cheap insurance against a motor repair.
The first time I made bread dough in this mixer, I used a recipe from a cookbook that called for three cups of flour and one cup of water, measured in cups. I scooped the flour straight from the bag and packed it a little. That dough was closer to 55 percent hydration and it fought the hook from the first minute. I did not know any better, so I let it run. The motor got hot, the dough never smoothed out, and the loaf came out dense enough to use as a doorstop. My wife asked what happened, and I told her the mixer could not handle bread. It could handle bread fine. I was the problem.
Step 2: Knead on Speed 2 and Nothing Higher
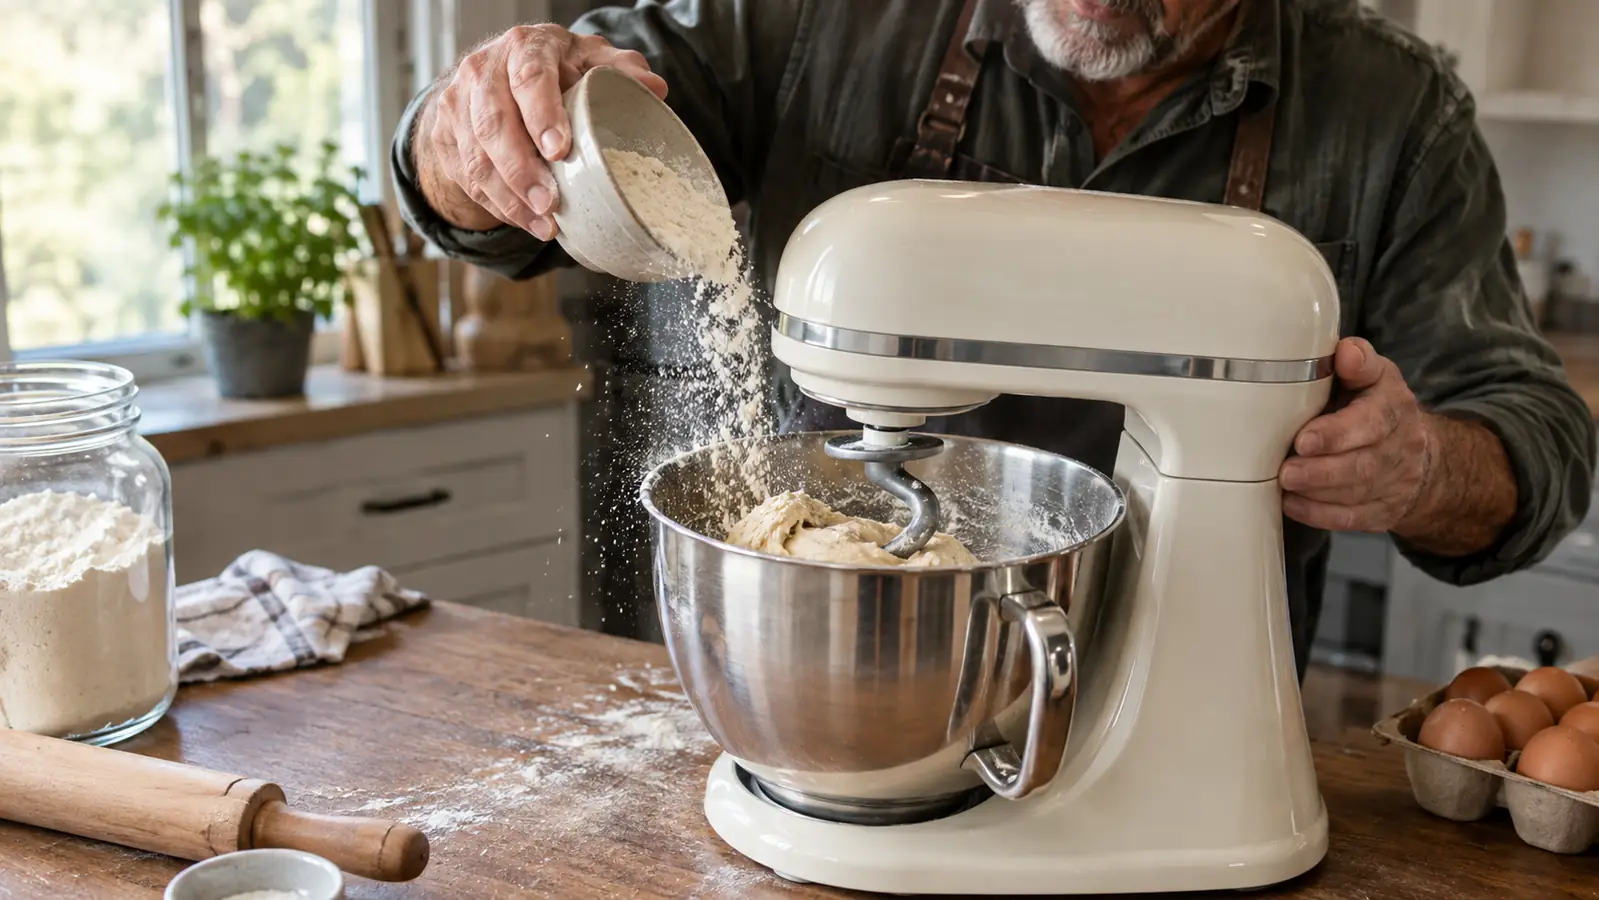
The Artisan has ten speeds. For bread dough you will use exactly one of them: speed 2. The KitchenAid owner's manual is explicit about this, and there is a reason. The dough hook is designed to fold and stretch the dough at a slow, steady pace, which develops gluten without overheating the dough or straining the gears. Running the mixer at speed 4 or 6 does not make better bread. It makes the mixer rock across the counter, warms the dough, and pulls hard on the motor every time the hook meets a stiff patch.
I learned this the hard way. When I first started making bread, I figured faster meant better, so I ran a batch at speed 6 for eight minutes. The dough came out warm to the touch, and the metal housing under the bowl was hot enough that I did not want to hold my hand on it. Nothing broke that day, but I understood what I had been doing. Every batch since has run at speed 2, and every batch has taken about the same amount of time. There is no shortcut here worth the risk to a motor that is not cheap to replace.
Speed 2 is also slow enough that you can watch the dough. At speed 6 everything blurs and you cannot see what is happening. At speed 2 you can see the hook catch the dough, fold it over, and push it against the side of the bowl. You can see when the dough has come together and started to clean the sides. You can see the moment it begins to climb the hook and needs a scrape down. Kneading is a visual process as much as a mechanical one, and speed 2 is the speed that lets you see it.
Step 3: Add Flour in Stages and Let the Dough Come Together
Mixing and kneading are two different jobs, and the mixer should do them at two different times. For the first minute or two, run the mixer on speed 1 or the stir setting to combine the water, yeast, and about two thirds of the flour into a shaggy, wet mass. This is the mixing stage, and it is gentle on the motor. Then switch to speed 2 and add the remaining flour half a cup at a time, waiting until each addition disappears into the dough before adding the next.
Adding flour in stages does two things. It keeps the load on the motor lower at the start, because the dough is wet and loose instead of stiff and dry. And it gives you a natural place to stop early if the dough is stiffer than you expected. If the last half cup of flour makes the dough turn into a dry, crumbly ball instead of a smooth mass, you can leave some of it out and add a little water. Once you dump everything in at once, you have committed to that dough no matter what.
One Tuesday back in the spring I made a batch with a whole wheat flour I had not used before, and I got careless. I added all the flour at once and walked over to the sink to wash a bowl. When I came back, the mixer was laboring and the dough had climbed halfway up the hook as a dense, dry ball. I had to stop the machine, scrape everything down, add water a spoonful at a time, and restart. The loaf turned out edible, but the extra handling made the crumb tough. Now I always hold back the last cup of flour, add it slowly, and stay within arm's reach for the first minute of every knead.
Step 4: Trust the Windowpane Test, Not the Clock
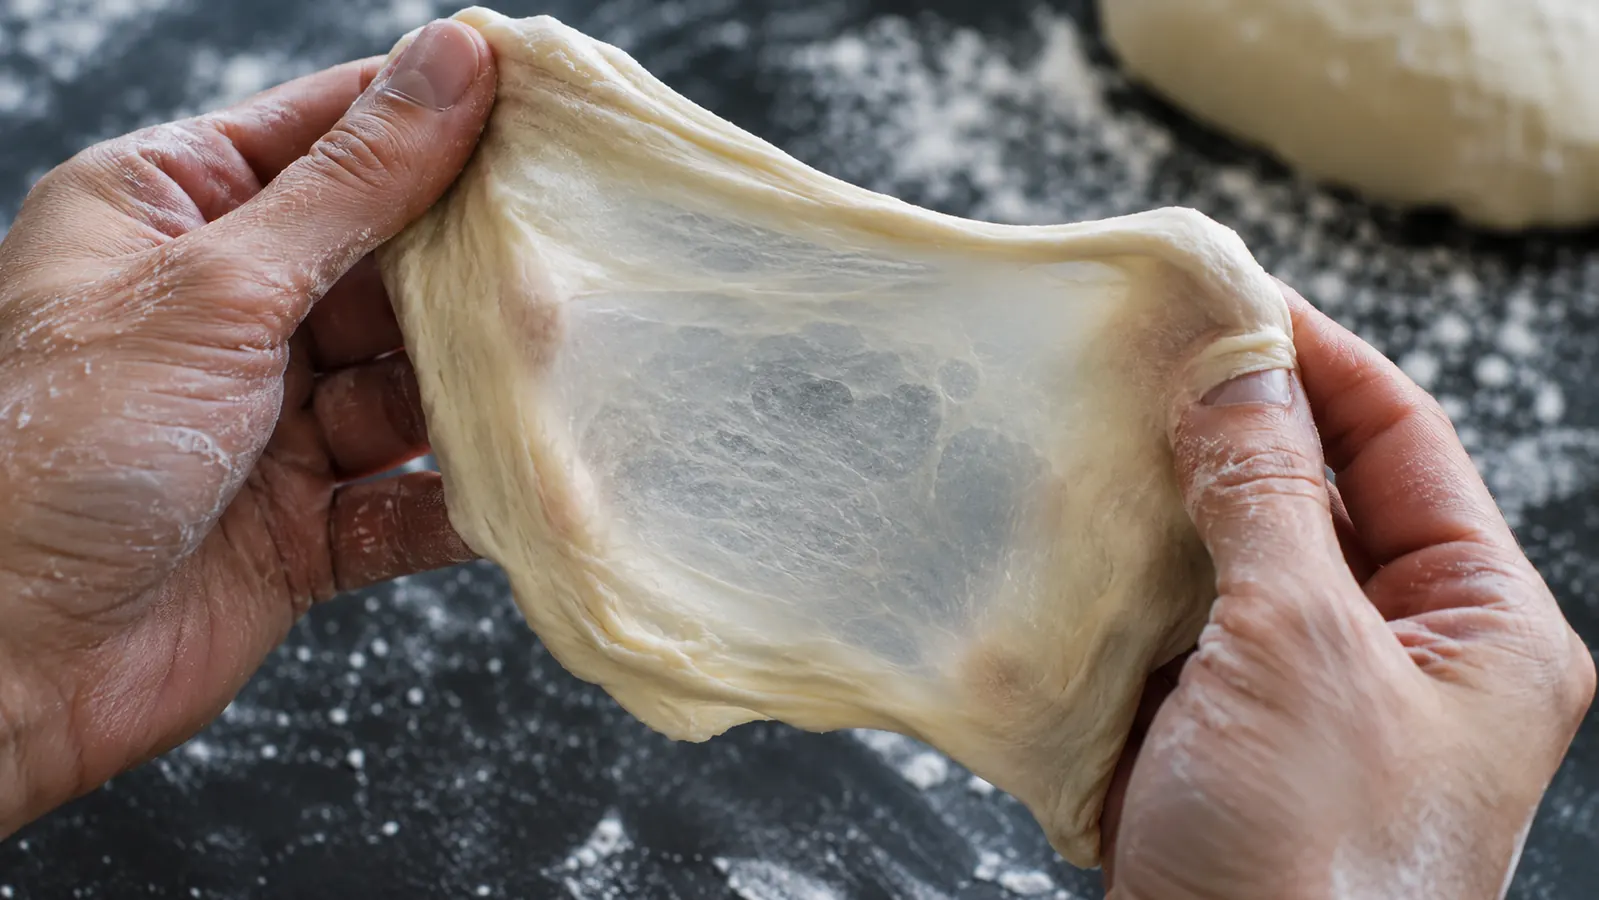
Every bread recipe tells you to knead for a set number of minutes, usually six to ten. Treat that number as a starting point, not a finish line. The real test is the windowpane. Pinch off a piece of dough about the size of a walnut and stretch it gently between your fingers. If it stretches into a thin, translucent sheet without tearing, the gluten is developed and the dough is done. If it tears before you get a sheet, knead for another two minutes and test again.
I have had doughs reach the windowpane in five minutes and others that took eleven. The difference is not the recipe, it is everything around it. Hydration changes it, flour protein changes it, even the temperature of your kitchen on a given day changes it. One afternoon in early June, with the kitchen warm from the sun, the dough came together fast and passed at six minutes. The same recipe in January needed nine and a half. The clock lies to you. The windowpane test does not.
When the dough passes the test, stop the mixer immediately. Overkneading is a real thing, and it produces a dense, tough crumb that no amount of proofing will fix. I have done it, and it is a waste of a good batch. The windowpane test takes about fifteen seconds and it tells you more than any timer ever will. Make it a habit and you will never guess at doneness again. This is the single most useful skill I picked up in thirty years of cooking, and it applies to hand kneading just as much as mixer kneading.
Step 5: Stop on Time and Give the Motor a Break
The end of kneading is where most people push too far. If the dough has passed the windowpane test, the job is done. Extra kneading does not improve the bread. It warms the dough, tightens the crumb, and works the motor for nothing. On a heavy batch, especially a whole grain dough or one at low hydration, run the mixer for no more than eight minutes at a stretch, then let it rest for ten before starting again. This is not babying the machine. It is using it the way the manufacturer designed it.
A few hard rules I have settled into after years of bread days. Never knead more than about four cups of flour worth of dough at a time in the KitchenAid 5-quart tilt-head. Double batches are tempting, but a full two and a half pound dough in that bowl strains both the motor and the hinge where the head tilts back. If you need more bread, make two batches. It takes the same time and it is far easier on the equipment. Also check that the dough hook actually scrapes the bottom of the bowl. If it does not, the dough will not knead evenly and the motor will work harder than it should. Adjust the bowl height once per the manual and you are set for years.
I keep a timer on the counter for the rest breaks, and I use a cheap infrared thermometer to check the housing after a heavy knead. On a normal batch the metal stays cool. If it is warm, I know the dough was too stiff or the batch too big, and I adjust next time. That feedback loop is the whole game. The mixer will tell you what it needs if you pay attention. My KitchenAid is fourteen years old this year and it still kneads two loaves of bread every Sunday without complaint, which is all I ever asked of it.
What Else Helps
A few extras made bread day easier and kept the motor happy. A digital scale is the most used tool in my kitchen, and it costs less than a bag of good flour. Use bread flour rather than all-purpose for your first several batches; the higher protein gives the windowpane test an easier time. Keep a bench scraper by the mixer so you can knock the dough off the hook without scratching the bowl. And resist the urge to walk away during the first minute of kneading, because that is when problems announce themselves. None of this is complicated, and all of it protects the machine you already own.
I have had doughs reach the windowpane in five minutes and others that took eleven. The clock lies to you. The windowpane test does not.
Knead real bread dough for years, not until the motor gives out
The Artisan has the torque to handle proper bread dough when you run it at speed 2 and stop on time. It has been my workhorse for fourteen years.
Amazon Check Today's Price on Amazon →