
Most people who tell you vacuum sealing changes how you store meat are half right. The machine does the work. But the machine is the easy part. I have been cooking seriously for thirty years, and I have pulled plenty of so-called sealed packages out of the deep freeze that tasted like the cardboard they were wrapped in. The difference between meat that comes out right two years later and meat that comes out like a science project is about six small habits you do before you ever hit the vacuum button.
I have used a FoodSaver V4400 for a few years now, and it is the machine I keep coming back to when the freezer gets full. It is not the fanciest sealer on the market, and it is not the most powerful. It is the one that works without drama, and for the way I pack meat for the long haul, that is worth more than any bell or whistle. This is the exact order I do things, start to finish, with the settings I use and the mistakes I have already made so you do not have to repeat them. If you follow these five steps, you will not need a sixth.
The sealer I pack every freezer load with
The FoodSaver V4400 handles wet pre-frozen cuts, thick bags, and back-to-back sealing runs without complaint. That is the whole job.
Amazon Check Today's Price on Amazon →Before you start, clear the counter and lay out your bags, your marker, and your parchment. You do not want to be hunting for a pen with a half-sealed bag in your hand. The whole job, from cutting board to freezer shelf, takes me about ninety minutes for a big load, and the routine below is the order I settled on after a lot of trial and error.
Step 1: Pre-freeze the wet cuts
The single biggest mistake I made early on was vacuuming wet meat straight from the butcher paper. The machine pulls liquid into the channel, the seal never sets, and you get a bag that looks tight for a week before it silently lets air back in. Even on a machine with a moisture sensor, wet meat is the reason most first-time seals fail. The water does not just ruin the seal. It also carries flavor and juices away from the meat, so you lose twice.
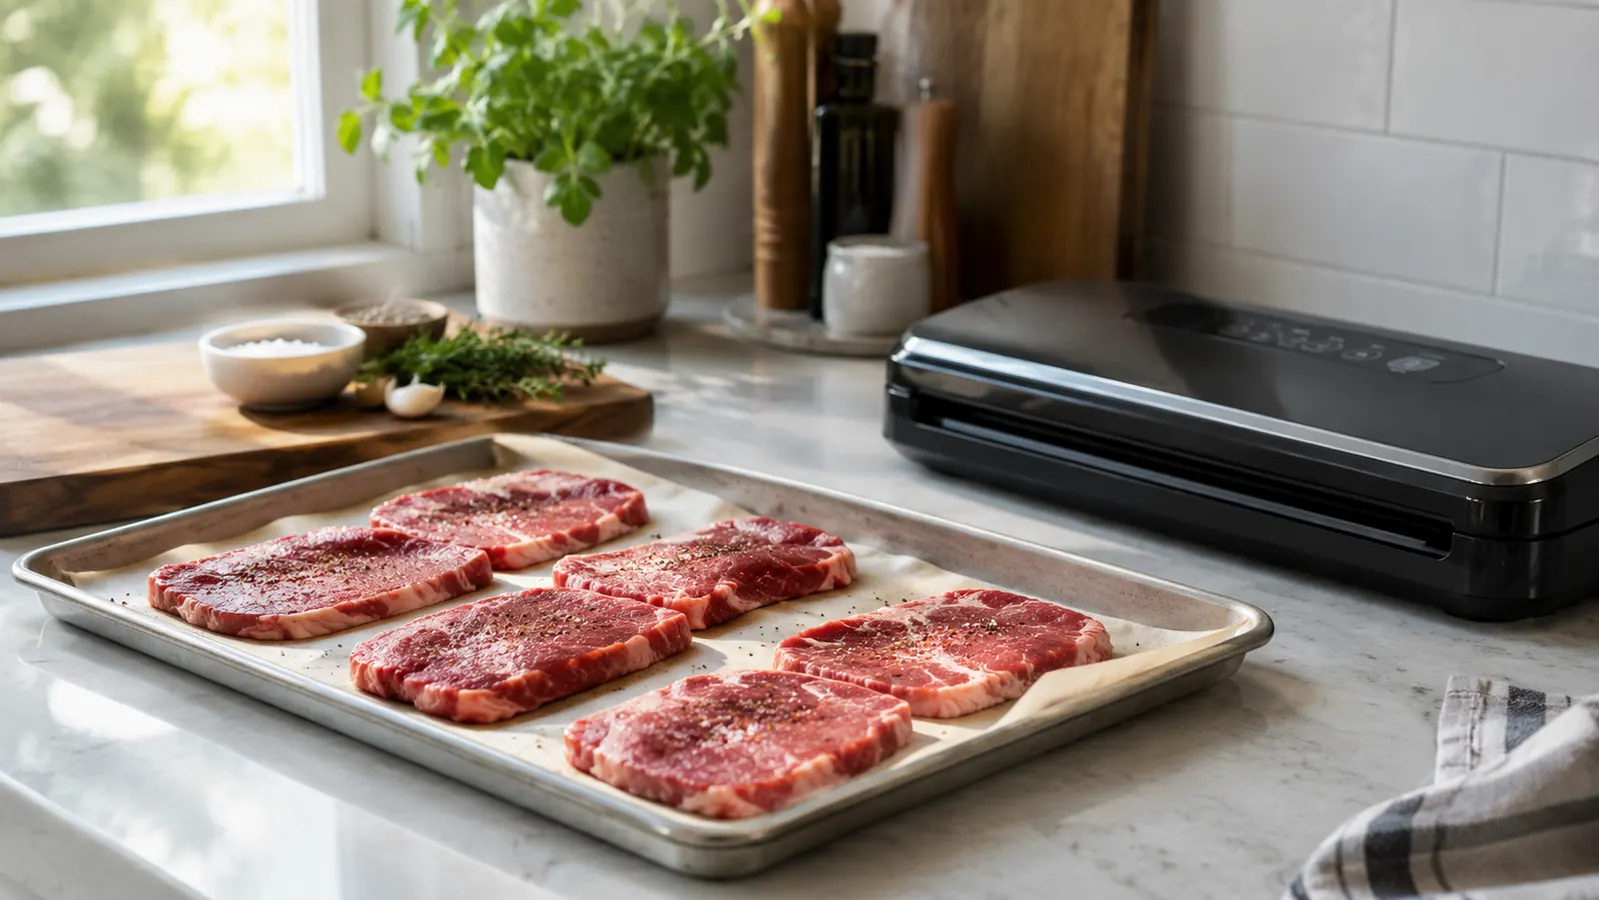
Fix it by portioning first, then laying the pieces on a sheet tray lined with parchment, spaced so they are not touching. Into the freezer for ninety minutes to two hours. You are not trying to freeze the meat solid. You are trying to firm up the surface so that when the bag pulls vacuum, no liquid migrates toward the seal. Ground meat needs a little longer than a steak because it holds more surface moisture. A flat, firm surface is the difference between a seal that holds for two years and a bag that puffs back up in March.
The science matters more than the routine. When meat freezes slowly, the water inside forms large ice crystals that puncture the cell walls, and the meat weeps when it thaws. When you freeze it fast and flat, the crystals stay small and the texture survives. Pre-freezing the surface also keeps the bag from squishing the meat into a lump. A flat, firm piece of meat seals flat and stores flat, and it thaws evenly later. That is the whole reason this step is first.
Step 2: Portion before you seal
The freezer is full of two kinds of packages: the ones sized for a real meal and the ones you thaw because you have to. Portioning at the start is the boring part nobody wants to do, and it is the part that pays off every single time you reach in. I would rather spend twenty minutes at the counter on packing day than argue with a five-pound roast on a Tuesday night.
I portion to the meal. A pork loin becomes three or four roasts sized to feed two people with leftovers, not one slab that means thawing a week's worth of meat for a Tuesday dinner. Trim the silver skin and the big pockets of fat now, while the meat is cold and easy to handle. Fat does not freeze as well as muscle, and big pockets of it go rancid faster and give you off flavors long before the lean meat is in trouble.
Bones are the other thing to deal with here. A sharp bone edge will puncture a bag from the inside during storage, and a pinhole is all it takes for the vacuum to fail slowly. I either cut the bone short or wrap the exposed edge in a folded layer of paper before it goes in the bag. For ground meat, I press it flat in the bag and score it into portions with the edge of my hand before sealing, so I can snap off exactly what I need without thawing the whole chub.
Step 3: Leave room at the seam
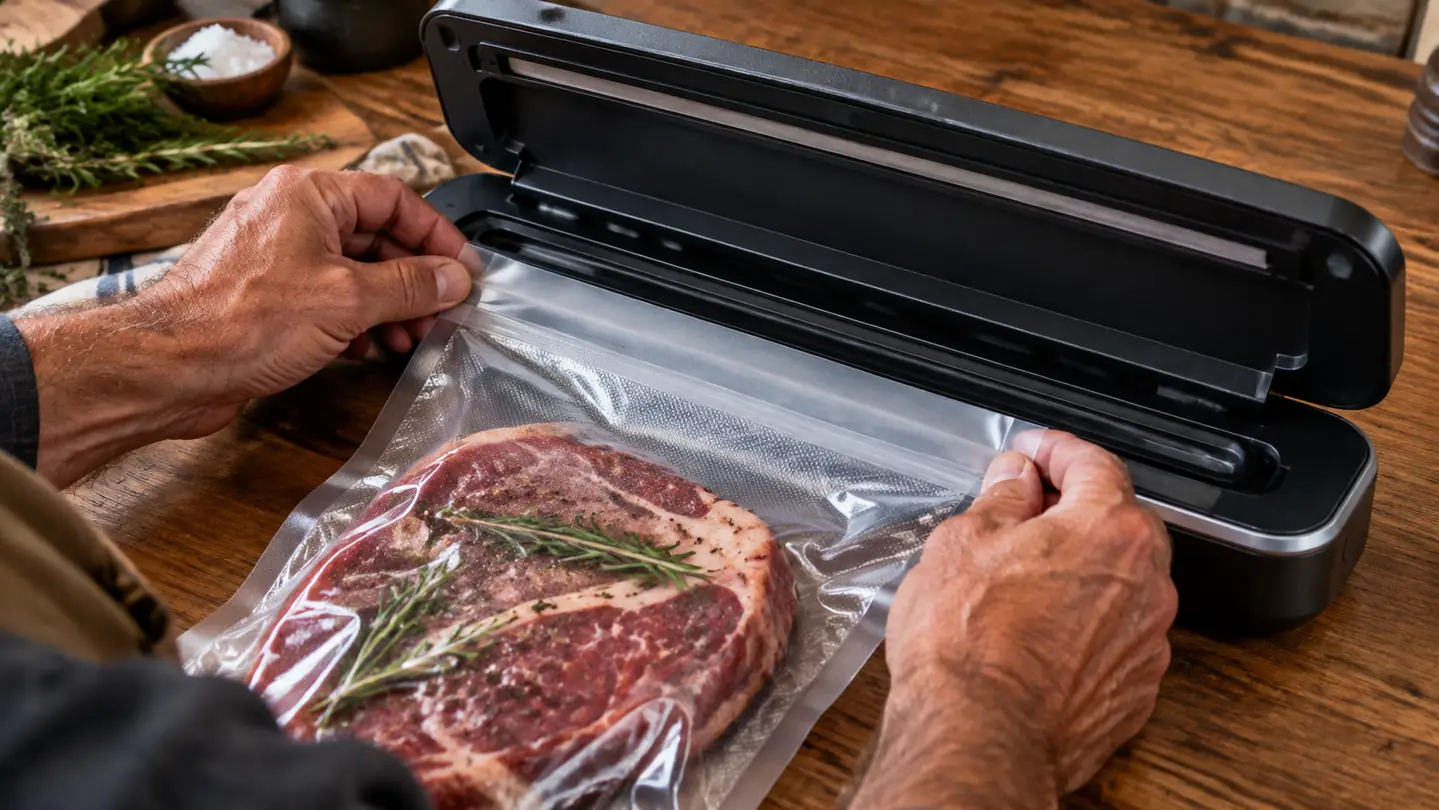
Every sealer has a seam, and the seam needs room. I watched my neighbor Bill pack a bag to the brim, press the lid, and wonder why the seal never took. The answer was simple: there was nothing left to seal. The FoodSaver V4400's bag detection does a fine job of finding the bag and starting the cycle, but it cannot create space that is not there.
Two rules I follow every time. First, leave at least three inches of clear bag between the food and the open end, and keep that strip free of juice, fat, and seasonings. Any liquid or grease in that zone can keep the plastic from fusing, and a seal over a greasy patch is a seal waiting to fail. Second, do not overfill the bag. If the food pushes against the seal bar, the vacuum cycle will struggle and the bag will look crimped instead of sealed. When in doubt, use the next size bag up. A bag that is a little too big costs you a few cents. A bag that fails costs you the meat.
The moisture sensor on the V4400 is there to catch the wet seam I keep warning about. If it beeps and stops the cycle, do not fight it. Open the lid, wipe the strip dry, and run it again. Nine times out of ten that is all it takes. The machine is telling you what it needs, and the worst thing you can do is override it and force a weak seal that will not survive the winter.
Step 4: Double seal the big bags
The FoodSaver V4400 seals most bags in one pass, and that is enough for most things. For the big freezer loads, the roasts, the whole chickens, the five-pound chubs of ground beef, I run the seal function a second time, right below the first seal. It costs me about ten seconds per bag, and I have never once had one of those double-sealed bags fail. The second seal is cheap insurance against the one bag that was not quite clean enough at the seam.
Here is the part that matters more than the second pass, and it is the part people skip. Let the machine finish its full cycle and release the vacuum before you open the lid. I have watched people yank the lid open the second the light changes, and what that does is pull a little air back into the bag right at the seam. The FoodSaver V4400 flashes its indicator when it is done. Wait for that, then lift the lid, and you will get a seal that is actually flat and tight. Patience at this step is worth more than any upgrade.
Do not stack the bags the moment they come out. The seal is still warm and soft, and heavy weight on top of it can deform it. Let them cool on the counter for a few minutes while you get the next bag ready. That little pause, plus the double seal, is why my oldest packages still hold their vacuum. I have a pork shoulder from two years ago that is still flat as a board, and that is the test I judge every packing session by.
Step 5: Label everything, then store flat
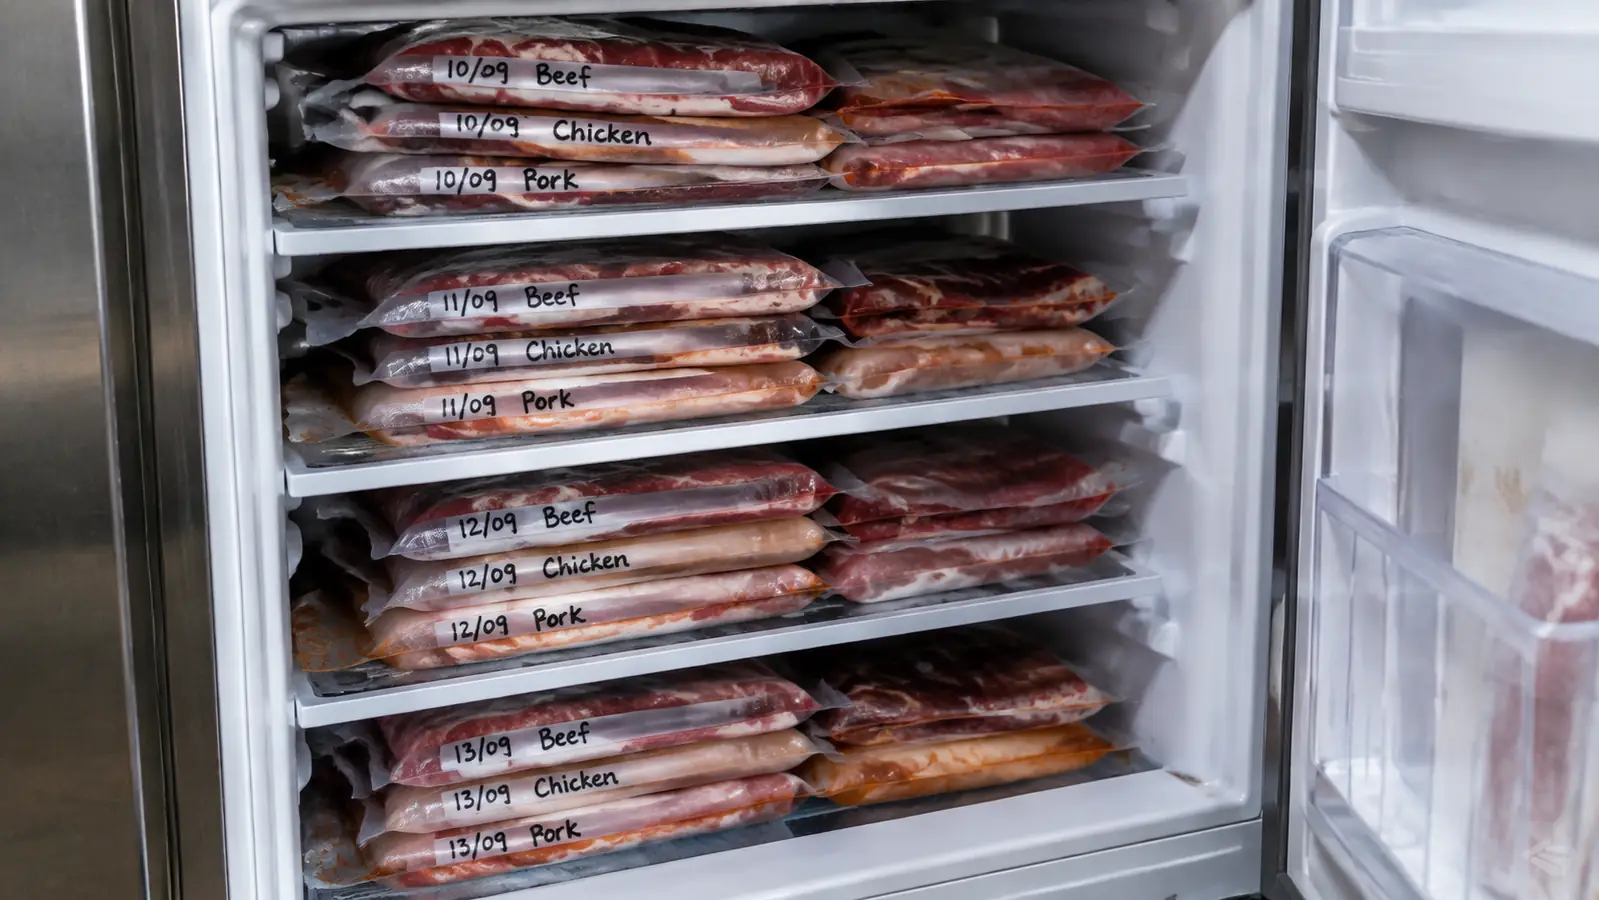
Freezer paper labels fade, and grease pens smear on shiny plastic, and six months later you are staring at a mystery bag wondering if it is the pork shoulder or the brisket. I write on every bag with a permanent marker before I seal it, on the smooth strip above the seal. Date, cut, and weight, in that order. 3/12, chuck roast, 2.4 pounds. When I reach into the deep freeze in August, I do not have to guess, and neither does my wife when she pulls a bag for dinner.
Then lay the bags flat in the freezer, not stacked like bricks, at least for the first few hours. Flat bags freeze faster, which means smaller ice crystals, which means better texture when you finally thaw and cook it. Once they are solid, stack them however you like. I keep a shelf for beef, a shelf for pork, and a shelf for everything else, and I rotate oldest to front every time I add a new batch. That system, plus the label, is how I pull a two-year-old package and have it taste like it went in last month.
A word on rotation, because it is the half of the system people forget. The label only helps if you actually use it. Every time I freeze something new, I move the older bags to the front and put the new ones behind them. It takes ten seconds and it means nothing sits at the back of the freezer for four years. Meat is good in a proper vacuum seal for a long time, but good and at its best are not the same thing, and I want the oldest stuff eaten first.
What Else Helps
A few things that are not steps but make the whole operation run smoother. Keep the gasket clean. The seal on the FoodSaver V4400 is rubber, and it picks up grease over time, and a greasy gasket is a leaky gasket. Wipe it down after every big packing session with a damp cloth, and dry it before you close the lid. A clean machine is the cheapest maintenance there is.
Do not run the machine back to back for an hour straight. It heats up, and a hot sealer makes weak seals. I pack in batches, let it rest between runs, and I have never burned one out. And buy the bags on a roll so you can cut your own length. You waste far less than you do with pre-cut bags, and for the volume I freeze in a year, that adds up to real money over a season.
If you are still deciding between this machine and a chamber sealer, I compared them head to head, and the short version is that a chamber unit only wins if you are sealing liquids or doing serious volume every week. For meat, the FoodSaver V4400 is the one I reach for. And if you want to know how it holds up after a couple of years of steady use, my long-term review covers exactly that, including the one repair I had to make.
One more thing worth saying: do not trust the machine to do everything. The V4400 is a good sealer, but it is a tool, not a magic wand. If you skip the pre-freeze or overfill the bag, no sealer on the market will save you. The habits are the system, and the machine just executes them. That is the honest version, and it is the version that will actually get you two-year-old meat that tastes right.
The difference between meat that comes out right two years later and meat that comes out like a science project is six small habits you do before you ever hit the vacuum button.
Pack the next freezer load like this
The FoodSaver V4400 has been my long-haul sealer for years. It handles wet pre-frozen cuts, double seals the big bags, and never argues. That is the whole review in one line.
Amazon Check Today's Price on Amazon →