
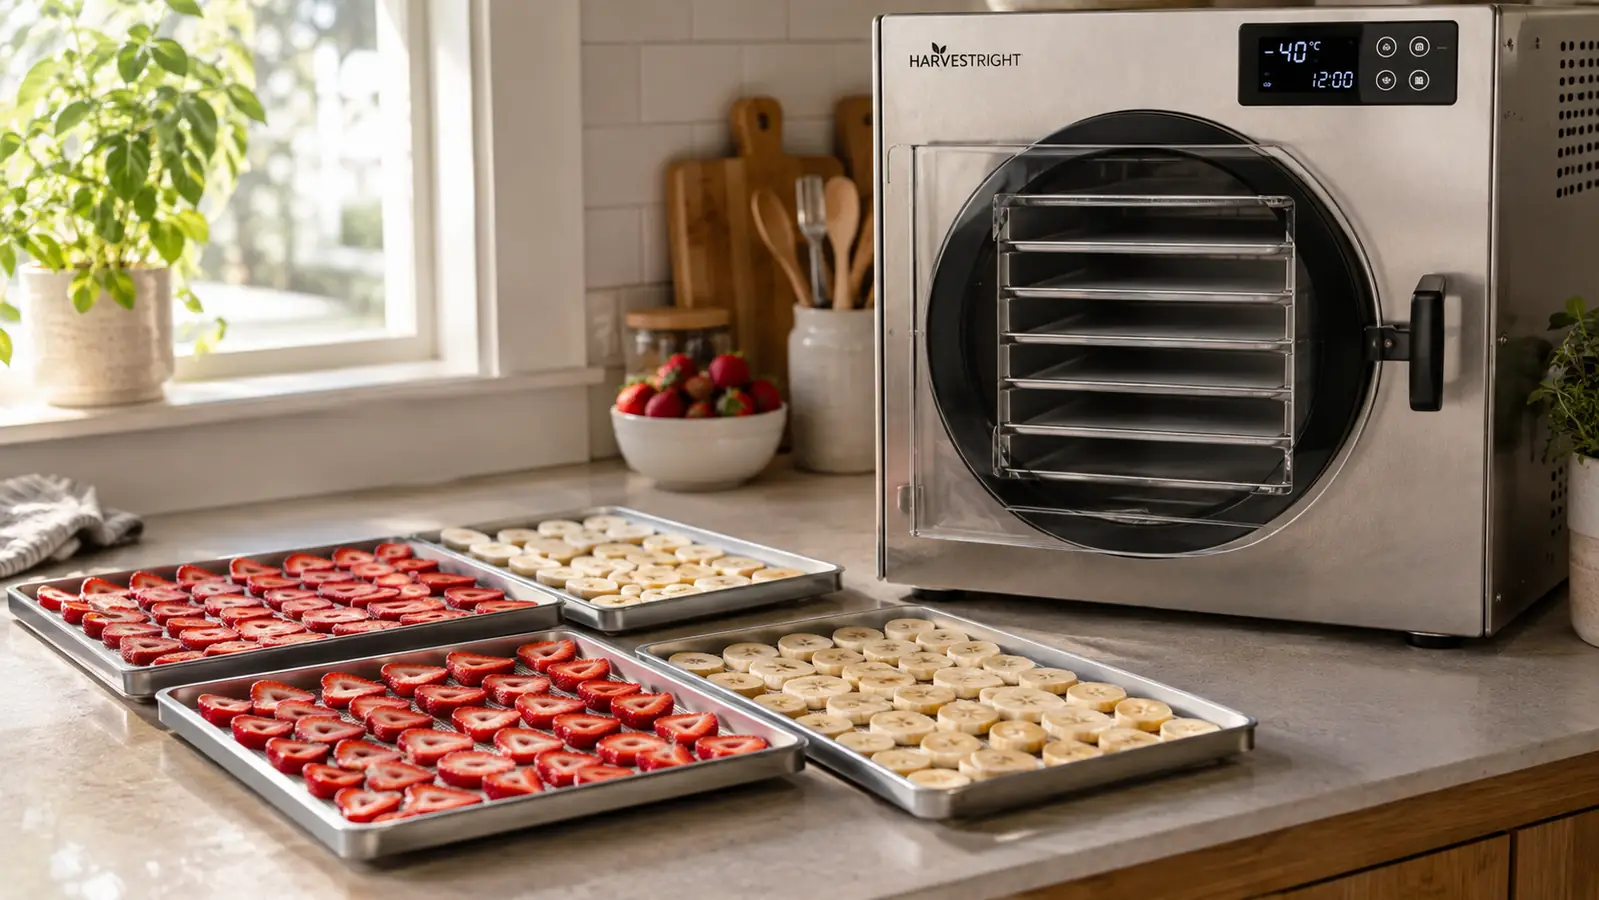
I've been cooking seriously for about thirty years, and for most of that time I treated freeze dried food as something you buy in a pouch from a camping store. That changed last fall when I decided to put a VEVOR freeze dryer in my kitchen. This is the walkthrough I wish I'd had on day one.
Freeze drying at home is not like dehydrating. It's a multi-step process that takes a full day or more, and if you rush the last step, you end up with food that rehydrates poorly or spoils. This guide is the exact sequence I use with my VEVOR, from slicing to sealing. I've run about thirty batches since November, and these steps are the ones that hold up.
I'll also say up front that this isn't a quick process. A single batch takes the better part of a day, but the payoff is food that keeps for years without preservatives. If you're the kind of person who likes to know exactly how something works before you trust it, this guide is for you.
Start with a machine that handles a ten pound batch
The VEVOR freeze dryer I use holds four trays and runs about two and a half pounds per tray. It's the workhorse that makes freeze drying at home possible. Check today's price on Amazon to see if it fits your kitchen.
Amazon Check Today's Price on Amazon →Step 1: Prep the Food Right
Step 1 starts the day before you actually run the machine. I wash everything, peel what needs peeling, and slice to a quarter inch or thinner. Thicker slices take longer to dry and often trap moisture in the center. I've found that a mandoline gives the most consistent slices, but a sharp knife works if you're patient. I started with a batch of strawberries from the farmers market. I washed them, hulled them, and sliced them to a quarter inch on a mandoline. The first time I used a knife, I got uneven pieces that took much longer to dry. Since I switched to the mandoline, my batches finish in about 22 hours instead of 28.
After slicing, I arrange the pieces in a single layer on the four trays. The VEVOR trays are roughly fourteen by twenty inches, so I can fit about two and a half pounds of sliced strawberries per tray, which comes to ten pounds for a full batch. I leave a little space between pieces so the cold air can reach every surface. If I'm doing something like green beans, I break them into one inch pieces and spread them out the same way.
Once the trays are loaded, I put them in my chest freezer overnight. The machine can pre-freeze the food itself, but I've found that starting with food at about zero degrees Fahrenheit shortens the overall cycle by a few hours and gives me a more consistent result. I set a reminder on my phone for the night before a run. If I'm doing a batch that needs to run tomorrow morning, the trays go in the freezer tonight.
Step 2: Load the Trays and Start the Cycle
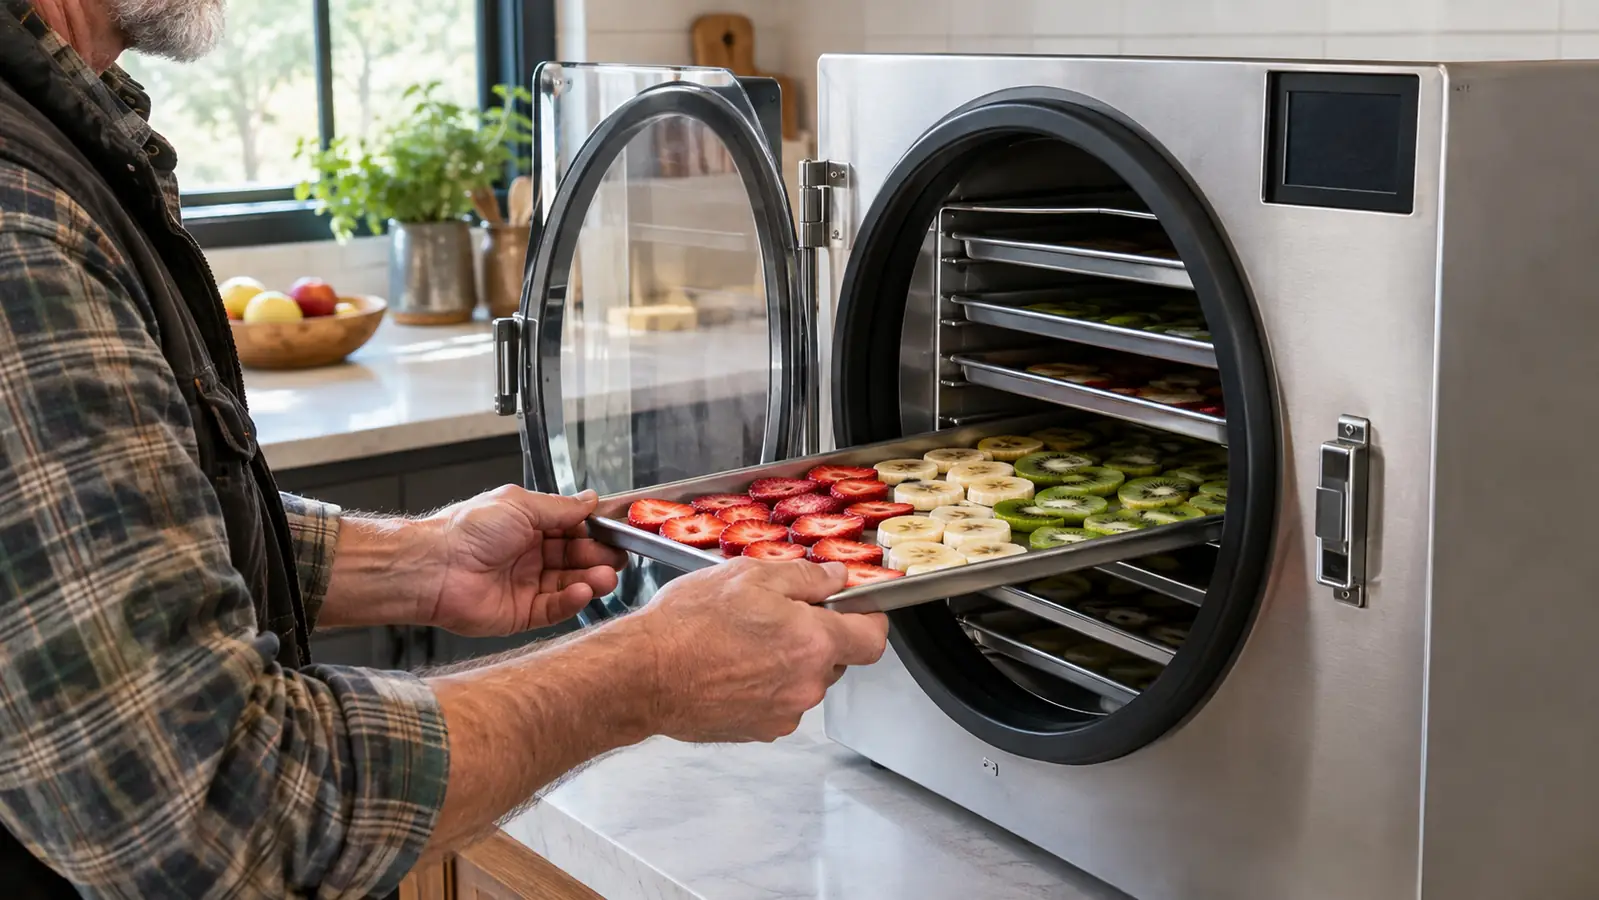
Step 2 is where the machine takes over. I take the frozen trays out of the freezer and load them into the VEVOR, one at a time, making sure each tray sits flat on the shelf. The machine has a drain tube that I connect to a container to catch the moisture that gets pulled out. I use a half gallon plastic jug with a spout, and I empty it after every run.
I close the door, make sure the drain valve is closed, and hit the power button. The VEVOR has a digital display that walks you through the settings. I set the freeze temperature to about minus ten Fahrenheit and the vacuum to pull down to around 500 millitorr. The machine does the rest. The first time I ran it, I expected to hear something dramatic. Instead, it hums quietly and the display shows the shelf temperature dropping.
The vacuum pump, which is separate and sits on the floor, makes a low drone. That's normal. The machine will hold these conditions for the length of the cycle, which for most foods is between 18 and 24 hours. I've run it overnight many times. One Tuesday in December, I loaded four trays of diced apples at nine in the evening and the machine finished at seven the next morning, a 22 hour run. I also learned to check the drain tube before starting. If it's clogged or not seated, the moisture has nowhere to go and the cycle won't complete properly. I had that happen once and had to stop the machine, clear the tube, and start over.
Step 3: Run the Cycle and Watch the Numbers
Step 3 is mostly patience, but there are two things I watch. The first is the vacuum reading. If the pressure climbs, it usually means a tray isn't seated right or the door seal has a bit of food stuck on it. I clean the gasket every few runs with a damp cloth and that solves most issues. A loose tray can let warm air in, so I always press each tray down until I feel it click into place.
The second is the shelf temperature. The VEVOR gradually raises the shelf temperature during the drying phase to drive off the last bit of moisture. On my last batch of bananas, the cycle ran 22 hours total. The first 12 hours held at minus ten, then the shelf slowly climbed to about 90 degrees for the final stretch. That gradual rise is what pulls the remaining water out without cooking the food. I also set a timer on my phone to check the display every couple of hours. The first few runs I slept through the whole cycle and woke to a finished batch, but I like to be present for the last few hours when the shelf temperature climbs.
I've also learned to resist opening the door to check. Every time you open it, you let warm air in and the vacuum has to re-establish. I use the glass door and the display to check progress. If I'm unsure, I wait another hour. Running it an hour too long is far better than pulling food that still has moisture in the center. I made that mistake once with a batch of blueberries, and I paid for it in the testing step.
Step 4: Test for Residual Moisture
This is the step that separates freeze drying from just running a machine. When the cycle ends, I don't rush to seal anything. I take one piece from the center of a tray, weigh it on a kitchen scale, and set it on the counter for five minutes. Then I weigh it again. If the weight changed by more than one percent, the food still has moisture and needs another hour or two.
I made the mistake of skipping this test on an early batch of apples. They looked perfectly dry, so I sealed them in a jar with an oxygen absorber. Three weeks later, the jar had condensation on the inside and the apples had clumped together. That was a costly lesson in why the test matters. Since then, I've tested every single batch, even the ones that look perfect. I now also do a second test on a piece from the edge of the tray, because the center and edge can dry at different rates. If the edge piece is dry but the center isn't, I put the tray back in for another hour.
For most foods, the test takes ten minutes. I do it for every batch, even ones I've run a dozen times. The VEVOR is consistent, but produce varies. A batch of tomatoes with a higher water content might need an extra hour, and the test tells you that before you waste a sealed container. I keep a small notebook next to the scale and write down the starting weight, the five minute weight, and the difference.
Step 5: Seal and Store
Once the test passes, I move fast. Freeze dried food is hygroscopic, meaning it pulls moisture right out of the air. I work in a low humidity room, keep the trays covered with a dry towel between steps, and seal everything within an hour of the machine finishing. I've set up a small station on my kitchen island with the sealer, bags, and oxygen absorbers ready to go.
I use one quart mylar bags with a 200cc oxygen absorber for most items. I fold the top over twice and seal it with a heat sealer, or I use a vacuum sealer with a jar attachment for things I plan to use in a few weeks. The key is to get an airtight seal so the food stays at around two percent residual moisture. I've had good luck with a cheap impulse sealer, but the VEVOR's trays clean up fast with warm soapy water. For items I plan to use within a month, I skip the mylar bags and use glass jars with a vacuum sealer attachment. It's quicker and I can see the food. For long term storage, the mylar bags with oxygen absorbers are the way to go.
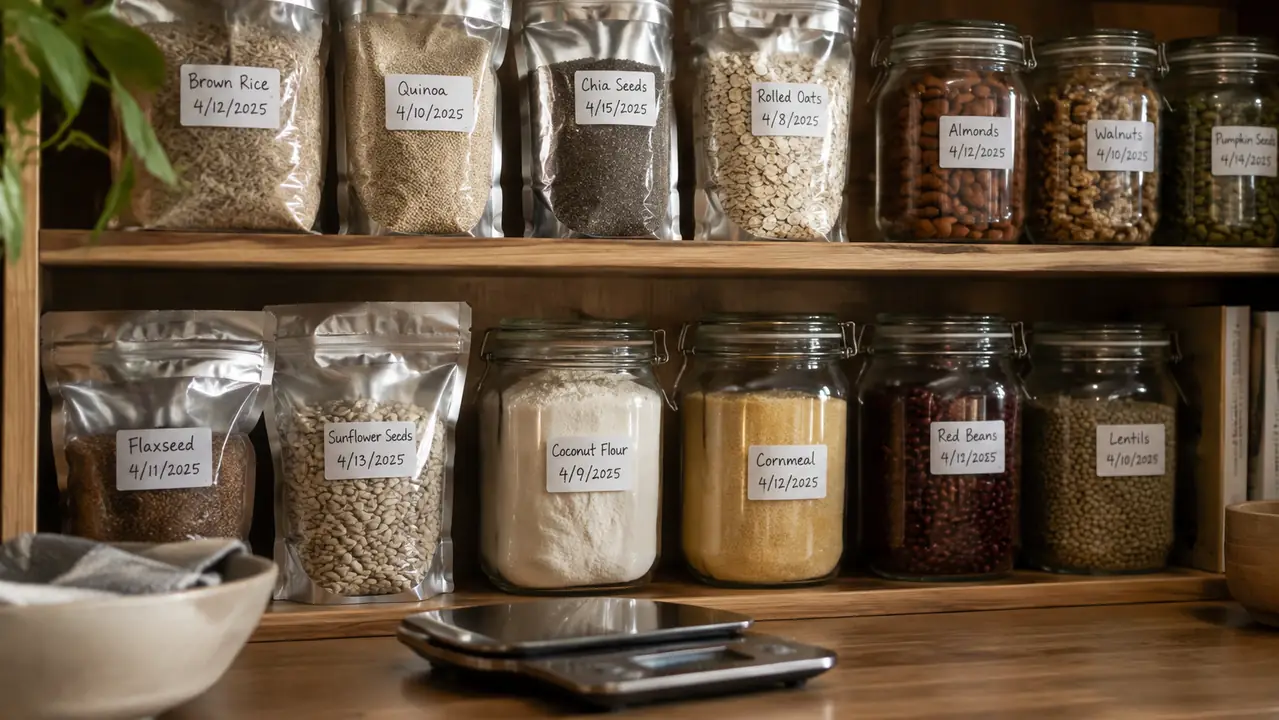
For long term storage, I label every bag with the date and what's inside, then store them in a dark cabinet. Freeze dried food that's properly sealed keeps for years. I've got a jar of strawberries from last November that still looks like the day I made it. Last week I opened a bag of freeze dried corn from February and it rehydrated perfectly in a pot of soup.
What Else Helps
I'll add a few things that made the process easier. First, buy a good kitchen scale that reads to the gram. The residual moisture test is only as good as your scale. Second, keep a notebook near the machine and write down the cycle time for each food. My first batch of blueberries ran 20 hours, but a batch of diced carrots took 26. The notebook saves you from guessing. I also recommend a dedicated outlet for the machine. It draws a fair amount of power, and I've had a breaker trip once when the freezer and the dryer were on the same circuit. Now I run the freeze dryer on its own outlet.
Third, consider a second set of trays. The VEVOR comes with four, and while they're washing, you can pre-load the next batch on a spare set. I bought an extra set from the same brand and it cut my turnaround time in half. Finally, run a batch of something simple like bananas or strawberries first. You'll learn the machine's rhythm before you attempt something as finicky as eggs or full meals.
The residual moisture test is the difference between food that lasts years and food that goes bad in a jar.
Ready to Run Your First Batch?
The VEVOR freeze dryer has been a solid addition to my kitchen. If you're thinking about freeze drying at home, start with a simple batch and follow the steps above. Check today's price on Amazon and see if it makes sense for you.
Amazon Check Today's Price on Amazon →