
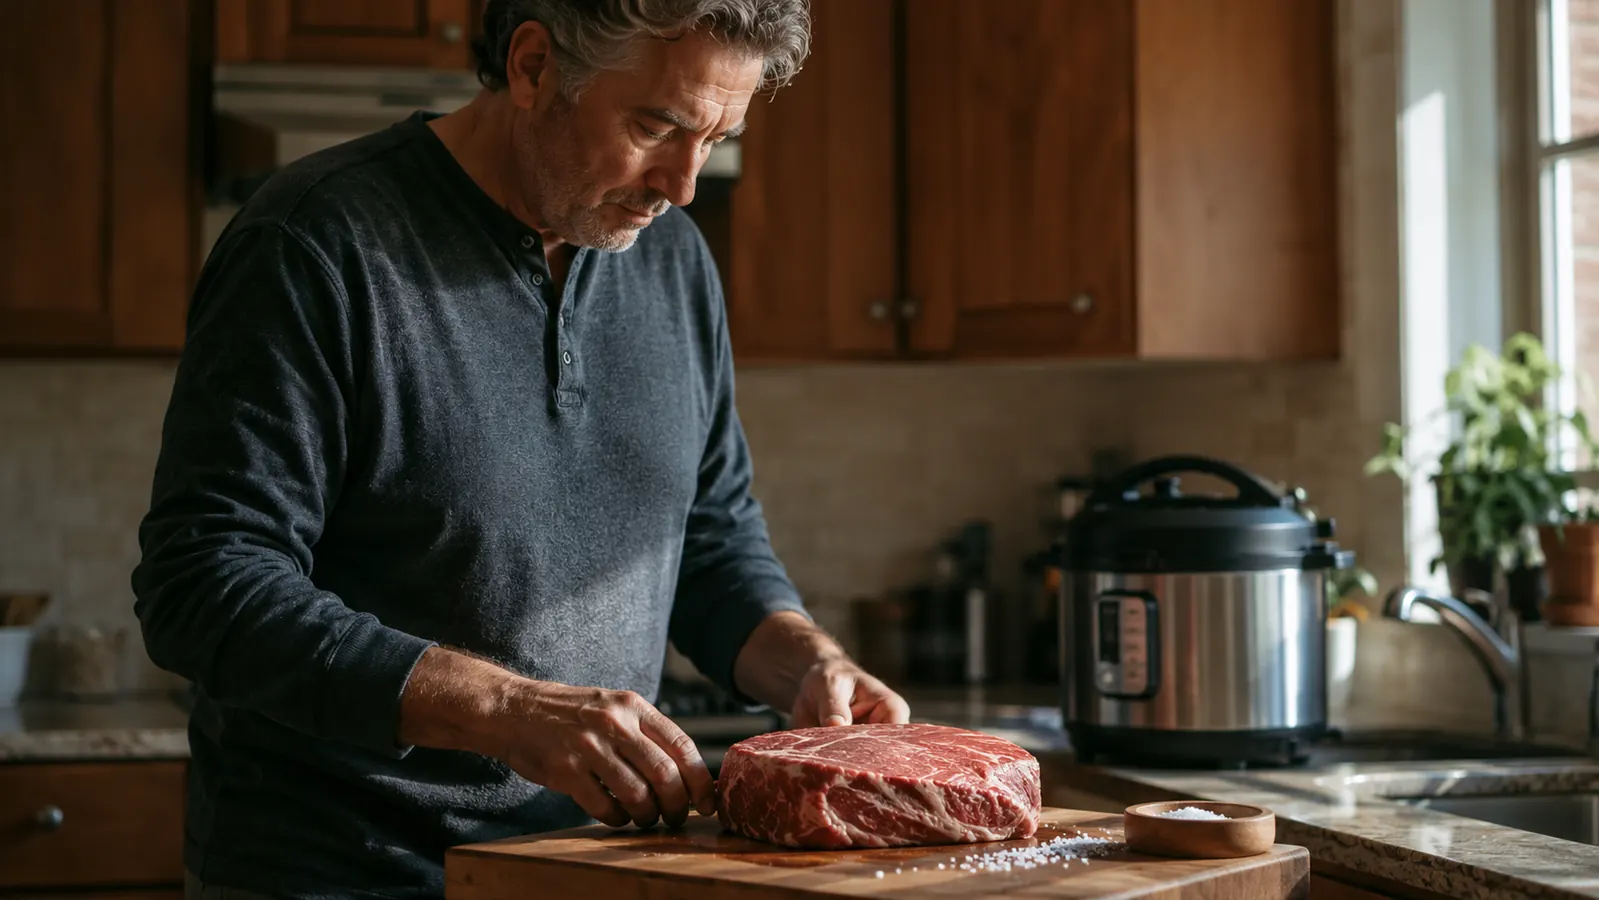
Somewhere along the way, nearly every home cook gets told the same thing about tough cuts: a chuck roast or a brisket is an all-day commitment. Brown it in the morning, braise it on low until late afternoon, and even then it can come out looking like a hockey puck if you rushed the oven. I did that routine for years. Then I bought an Instant Pot Duo for a completely different job, threw a cheap chuck roast into it on a Tuesday night out of pure stubbornness, and the whole math changed. The same cut that wanted four hours in the oven came out fork-tender in about forty-five minutes total.
Pressure cooking is not magic, it is physics, and understanding that one paragraph of physics is what separates a roast that melts from one that bounces. A tough cut is tough because of collagen, the connective tissue that holds a working muscle together. Collagen turns to gelatin somewhere in the 160 to 200 F range, and gelatin is what makes a braised roast feel rich instead of chewy. A pressure cooker simply raises the boiling point of water inside the pot, so the liquid holds steady around 240 to 250 F instead of 212. Same chemical job as the all-day braise, done in a fraction of the time.
The Pot Under Every Step Below: Instant Pot Duo, 6 Quart
This is the 7-in-1 that has earned a permanent spot on my counter. I use maybe four of its seven functions, but the pressure side alone paid for it. If you already own one, every step below applies straight across. If you do not, today's price on Amazon makes it a simple yes.
Amazon Check Today's Price on Amazon →I keep my setup simple, and I recommend you do the same. The 6-quart Instant Pot Duo with the stainless steel liner, one solid wooden spoon, and a sturdy pair of tongs. That is the whole kit. Everything below is the exact routine I run every week, no restaurant gadgets and no fuss. If your model is a 3-quart or an 8-quart, the steps are identical, only the times flex a little.
The Golden Rule Before You Start: Buy Real Collagen
Here is the part most recipes never say out loud. Pressure cooking rescues the cuts you would otherwise braise for hours, but it cannot improve a cut that has nothing to work with. A ribeye or a filet is tender because it has almost no collagen, and pressure just squeezes the juice out of it. Save the pressure mode for cuts with visible connective tissue running through them: chuck roast, brisket, short ribs, pork shoulder, lamb shoulder, the tougher end of beef round. When you are at the butcher case, look for white webbing and marbling, not a perfectly trimmed clean slab. That webbing is where the payoff lives.
Step 1: Season It the Night Before, Then Pat It Dry
Salt is not optional and it is not a garnish. A 3-pound chuck roast gets a tablespoon of kosher salt rubbed into every surface, and if I have the time it goes back in the fridge overnight. The salt works its way in and seasons the meat through instead of just painting the outside. No time for overnight? Salt it on the counter an hour ahead and you still get most of the benefit.
Whatever you do, take the roast out of the fridge and pat it completely dry with paper towels right before it hits the heat. Wet meat does not brown, it steams, and steamed beef has no crust worth eating. If you seasoned overnight, the surface will have drawn moisture back out, so dry it again. The dry surface gives you the crust, the crust gives you the fond, and the fond gives you the gravy. Every decision in this routine points at the same target.
Step 2: Brown It in the Pot, Not in a Separate Pan
Put the Instant Pot on Sauté and press the adjust button until the display reads More, which is the highest sauté setting. Give the stainless liner two full minutes to come up to temperature, add a couple of tablespoons of a high-smoke-point oil like canola or avocado, then lay the roast in and leave it alone for two to three minutes a side. If it sticks when you nudge it, it is not ready; wait, and it will release on its own. My 3-pounder takes about ten minutes total to get a deep brown crust on all six sides.
Here is what brown actually looks like: deep mahogany, nearly dark in spots, not a pale tan. If the roast is still pale after three minutes, the pot was not hot enough when the meat went in, so next time let it come up longer before you add anything. This is the single step most people shortcut, and it is the one that separates a roast with a crust from meat that tastes boiled. A pressure cooker makes meat tender, but only the browning makes it taste like something.
Step 3: Deglaze, Because That Is Where the Flavor Lives
After the browning, the bottom of the liner is covered in dark brown bits. Cooks call that pile of browned flavor the fond, and it is a whole meal of flavor sitting there waiting for you. This is the step people skip, and it is the most common reason pressure cooker meals come out flat. Add an onion, two carrots, and two celery ribs, roughly chopped, and let them soften in the same rendered fat for four minutes. Then pour in one cup of beef stock and a half cup of red wine, and scrape the bottom hard with a wooden spoon until nothing sticks. Every scrap you lift dissolves into the liquid and becomes your gravy.
People ask me why the pot throws a BURN warning in the middle of a long cook. Nine times out of ten it is a dry spot where the fond has built up and the liquid level has dropped. Scraping the bottom completely clean here is the best insurance you can buy against it. If the warning does fire, turn the pot off, let the pressure drop enough to open it, stir, add a half cup of stock, and restart on High. It costs you ten minutes, nothing more.
Step 4: Seal It and Cook on High Pressure
Lock the lid, make sure the steam release valve points at Sealing, press Pressure Cook or Manual, and set the time on High. These times have never failed me: a 3-pound chuck roast, 45 minutes. A flat-cut brisket in the 2 to 3 pound range, 50 minutes. English-cut short ribs, 40 minutes. A boneless pork shoulder at 3 to 4 pounds, 60 to 65 minutes. Lamb shoulder, 50 minutes. When in doubt, go longer rather than shorter; an extra ten minutes of pressure on a collagen-heavy cut costs you nothing, while an undercooked one costs you the meal.
Whatever the timer says, the meat decides when it is done, and the meat does not lie if you give it a thermometer. I pull chuck at 200 F for slicing and 205 F for pulling. The probe should slide in like it is going into warm butter, with almost no resistance. If it still offers resistance, the collagen is not done breaking down, so seal it back up and give it another ten minutes.
Step 5: Release Slowly, Rest, and Pull
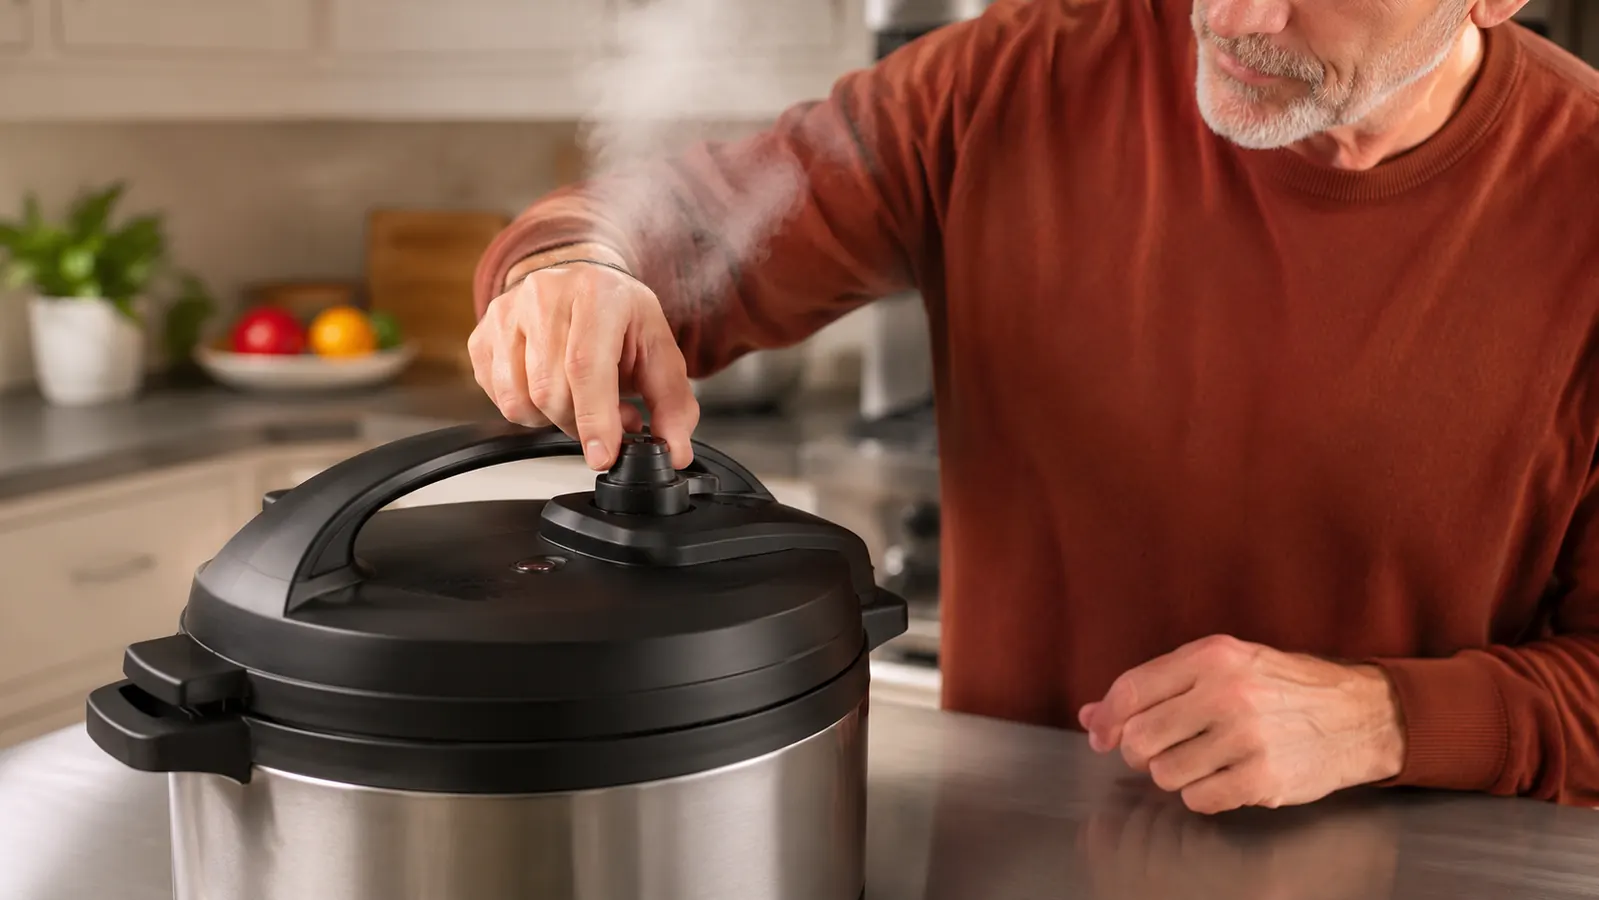
Here is the mistake that ruins more pressure cooker meals than any other: flipping that steam valve open the second the timer dings and letting it hiss out in twenty seconds. The violent venting tightens the muscle fibers and dries the surface of the meat. On a chuck roast I let the pressure come down on its own, which takes about twenty minutes with the pot just sitting there. If you are in a hurry, let it go naturally for ten to fifteen minutes, then crack the valve for the last bit. Never quick-release a big collagen-heavy cut.
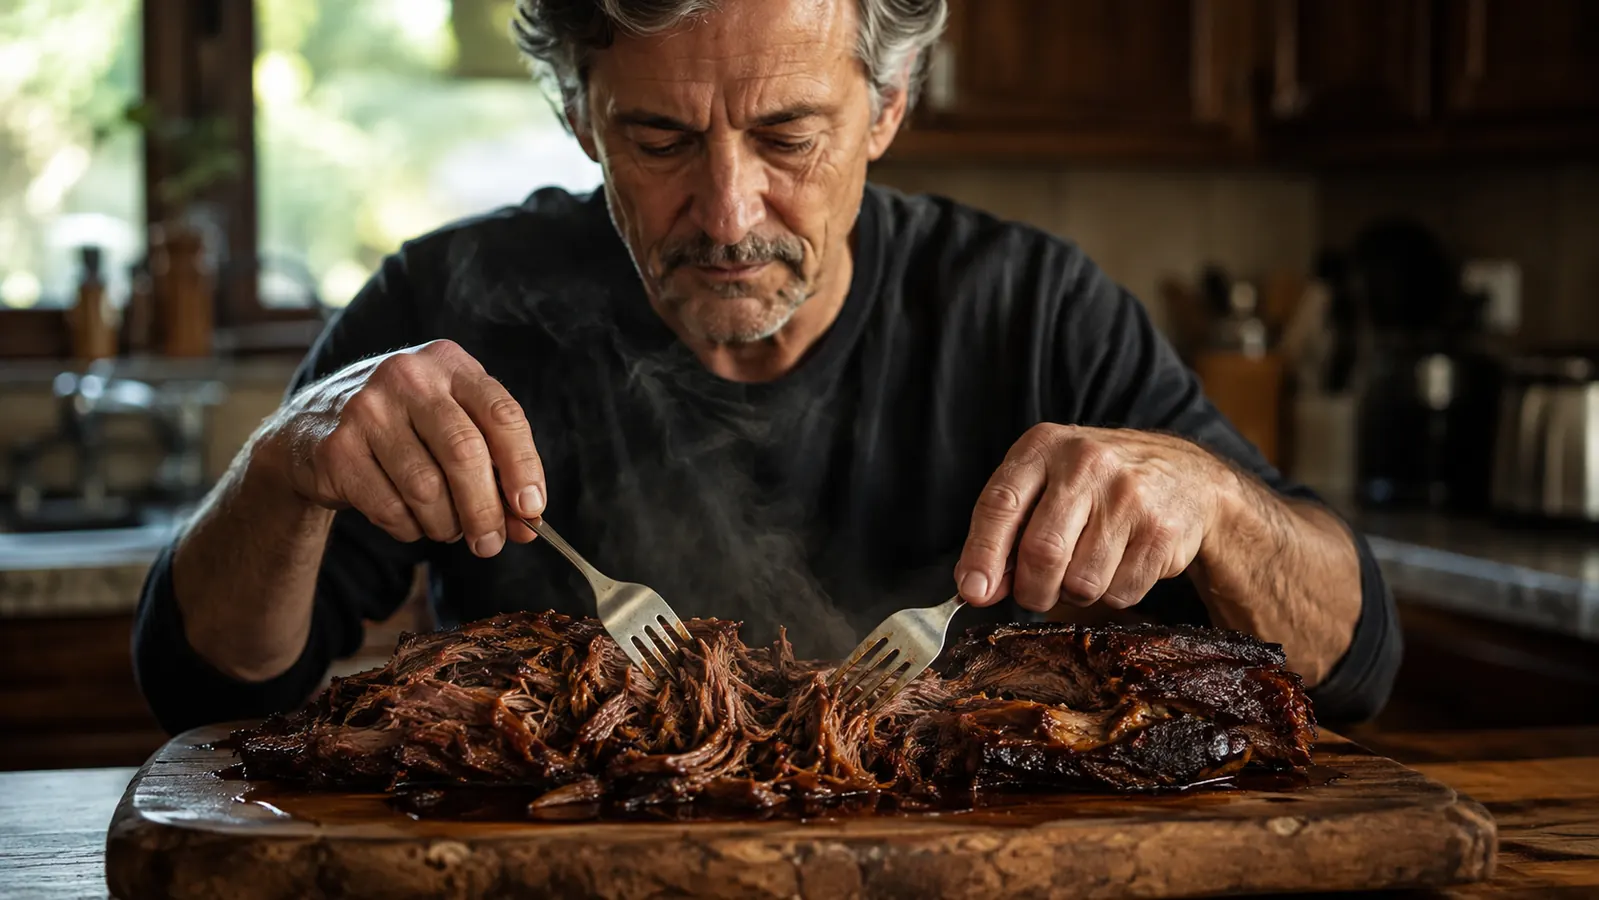
The rest is not waiting, it is part of the cook. As the roast rests, the gelatin in the pot recirculates through the meat and the sauce turns shiny and silky. Cut into it straight out of the pot and the juice runs onto the board, leaving a dry plate behind. Give the meat ten minutes on the board, tented loosely with foil, and the juice stays where you can taste it. Then pull it with two forks along the grain separations, or slice across the grain with a sharp knife. The liquid left in the pot is the payoff: skim the fat and you have gravy with no thickener at all.
What Else Helps
A few things that did not fit cleanly into the steps. The leftover cooking liquid, strained and refrigerated overnight, sets into a layer of fat you can lift off clean, and that defatted stock freezes beautifully for soup base. Cooked, shredded chuck freezes better than raw, so I batch-cook a big roast and pack it in one-pound portions for Tuesday night tacos. Acid in large amounts at the start, meaning tomato paste or a heavy hand of vinegar, can slow collagen breakdown, so I add those late in the cook if I add them at all. And one honest tradeoff: an overnight slow cooker does develop a marginally deeper flavor in my experience, but it costs you six hours. On a Tuesday, or any day the roast goes in at five, pressure wins, and I will not pretend otherwise.
The same cut that wanted four hours in the oven came out fork-tender in about forty-five minutes total.
The One-Block Summary
Buy a cut with dense connective tissue, season it the night before, brown it hard, deglaze the pot completely, cook on High until the meat reads 200 to 205 F, and let the pressure come down on its own. Skip the browning or skip the deglaze and you will chew your way through a lesson in why the steps matter. Do all five and a bargain chuck roast eats like it came from a white-tablecloth kitchen. If you want the full write-up on how the Duo has held up after a year of this exact routine, the long-term review has the details, and if you are still weighing an electric pot against a stovetop unit, the comparison lays out that tradeoff honestly.
Bottom Line: One Pot That Turns Cheap Cuts Into Company Dinners
The Instant Pot Duo is not the fanciest thing on my counter, it is just the one that gets used four nights a week. Buy the roast, follow the five steps, and you stop paying premium prices for beef that still ties its shoes. The 6-quart size is the one I would buy again.
Amazon Check Today's Price on Amazon →